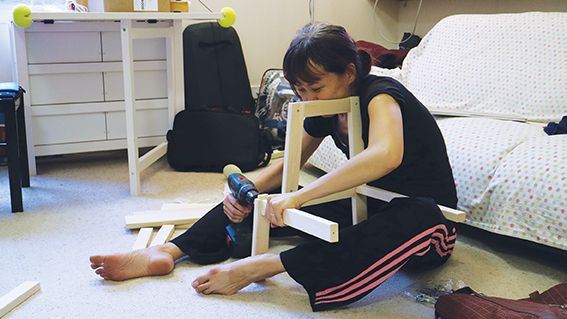
The internet is full of instructions on how to make your own kitchen helper. But how easy is it really?
A Kitchen Helper, or Learning Tower, is essentially a step stool for young children, but with an extra safety barrier. It elevates them to the height of your kitchen counter, and is most often used to encourage budding chefs, enabling them to work independently next to Mum and Dad, without causing the parents too much stress (until they reach for the sharp knife, that is). You can buy a premade one for $300, or following online instructions, make your own with an Ikea step stool and some pieces of wood.
Note: I’m revisiting this article three years later and whether you make a kitchen helper or not, I personally believe it is well worth the investment. Elliott loves his helper and it’s such a joy having him next to me when I’m cooking. Today, he’s five and can hardly fit into it anymore but he still drags it over to the kitchen counter so that he can be near me and with me, or it could simply be that he just wants to pinch food off the kitchen bench! The kitchen helper has definitely helped him learn some basic kitchen skills, and all safely and ergonomically.
Pros of making your own kitchen helper
- Involves Ikea furniture
- The Ikea step stool, additional wood pieces and screws cost around $50 (if you already own a drill), saving you $250 compared to buying the premade product.
- Clear, concise step-by-step instructions with photos.
- Spouse bonding opportunity: you will likely need to ask for help!
- Takes four to five hours to construct, probably shorter if you are handy with an Allen key and drill.
- Toddler-friendly project. It’s generally fine to have your toddler around while you’re measuring, drilling and constructing.
Cons of making your own kitchen helper
- Involves putting Ikea furniture together.
- You need to own a drill or borrow one.
- Some measurements are already converted to metric, but not all. Not a big problem but you have to take time to convert them.
- Can’t find the exact measurements for some of the wood pieces, which changes which screws to buy and the pre-provided measurements.
- Can’t cut the wood to length at the hardware store—need to find a friend with a saw.
- Drilling in a straight line is a fine art and requires more strength than expected.
Rating
7 out of 10.
Points lost because the instructions made it look like the project would be a walk in the park. If you understand it will require some effort, sweat and general DIY knowledge, it’s actually pretty straightforward and the end result, while not picture perfect (skill dependent), is still pretty handy—and affordable!
I followed these DIY instructions.
How helpful was this article?
Click on a star to rate it!
0 / 5. 0
Be the first to rate this post!
Melody Tan
Related posts
Subscribe
Receive personalised articles from experts and wellness inspiration weekly!

